Please try searching something.
Use Gateway without Code
Overview
Each merchant, willing to sell products online, needs an acquirer who would connect their website to International Card Schemes. A payment gateway is a navigation panel for merchants, allowing them to manage and oversee incoming funds flow.
Gate Dashboard is a payment gateway that provides you with several functions:
- Analytics shows a detailed analysis of the account and its transaction history;
- Timeline shows all your invoices and payment status. You can search particular payments and download them in multiple formats. Payment status (Paid, Issued, Refund, Chargeback, Reversal) is shown next to each transaction and error descriptions appear for unsuccessful payments;
- Invoice allows you to create new invoices, see all invoice templates you have saved for reuse, and view, edit, print, copy, download, and delete existing invoice templates;
- Subscriptions allow you to create new subscriptions and manage existing ones, and add customers to subscriptions.
- E-commerce & API allows to use e-commerce plugins of such platforms as WooCommerce or Magento, and to explore API documentation that can be integrated with many e-commerce websites and mobile app systems;
- Team accounts help the merchant to manage their sales and operations agents by tracking the performance of each member separately;
- Clients section stores the information on the frequency of purchases, delivery requirements, and saved card data for each customer;
- Products section allows to view and edit product details.
Account Settings
Once you have logged into your Dashboard account, in the upper right corner you can see two icons:

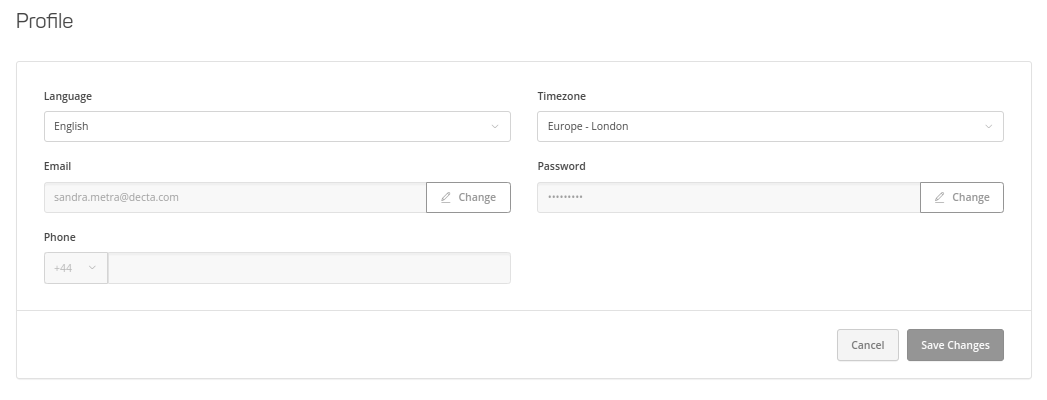
By clicking on the first one, you will find links to the gateway documentation and support contact information. By clicking on the second one, you will be able to edit your basic account settings, such as language, timezone, email address and password:
General Settings
On the left hand side navigation menu, the last section is Settings. Here you can adjust several account-related settings, for example:
- In Brands section, you can edit general brand details, upload a logo file you wish to be displayed in the invoices, edit the invoice sender's name, etc;
- In Taxes section, you can create and edit taxes;
- In Notifications section, you can adjust the notification preferences;
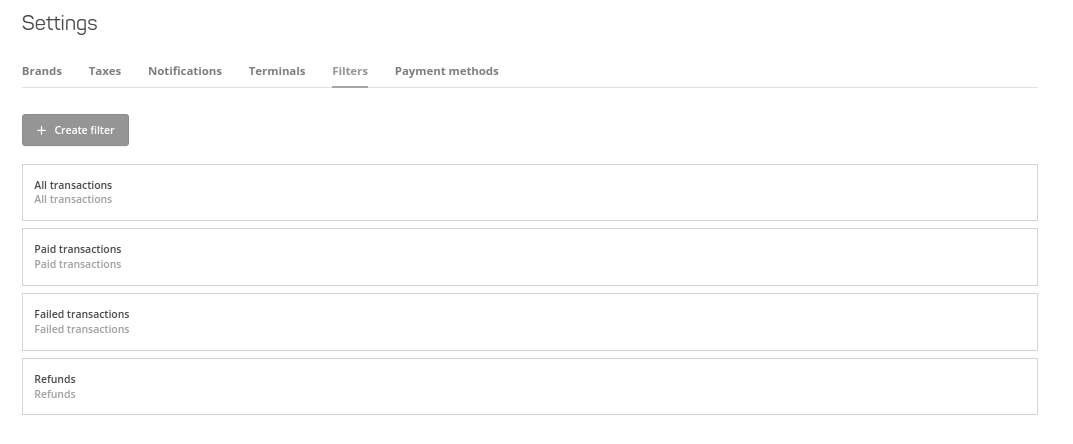
- In Filters section, you can create new filters that will allow you to search particular payments more conveniently.
Team Accounts
If you wish to add another member to your account, you can do so in the Team Accounts section (left hand side navigation menu). There you can add a new user and select the appropriate permissions for them.
Send Invoices
Invoices allow to accept online payments without an ecommerce shop. Additionally, even if you have an ecommerce platform, invoicing can be useful for upselling purposes. You can create and send an invoice from the dashboard. Invoices provide an itemized list of goods and services rendered, including the cost, quantity, and taxes.
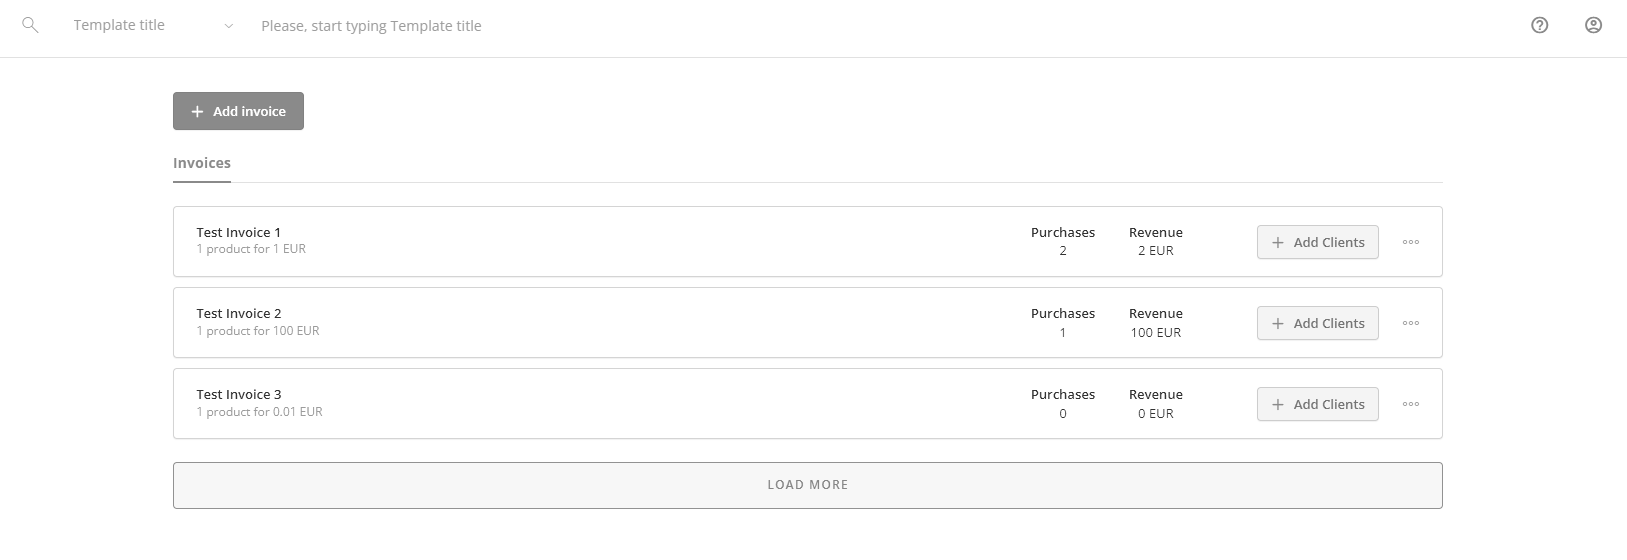
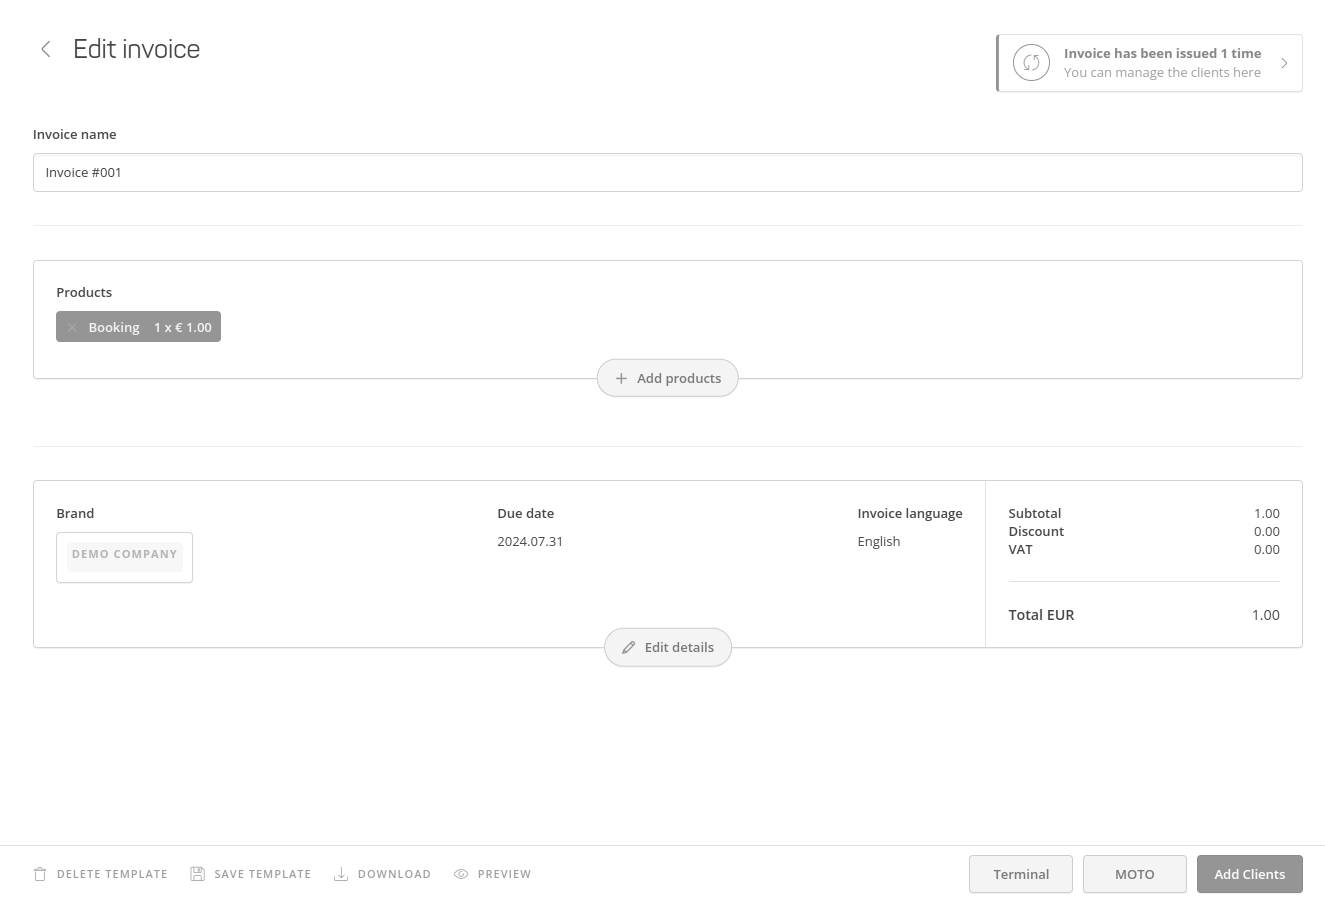
To create an invoice, go to In the Invoices section and click on the + Add invoice button:
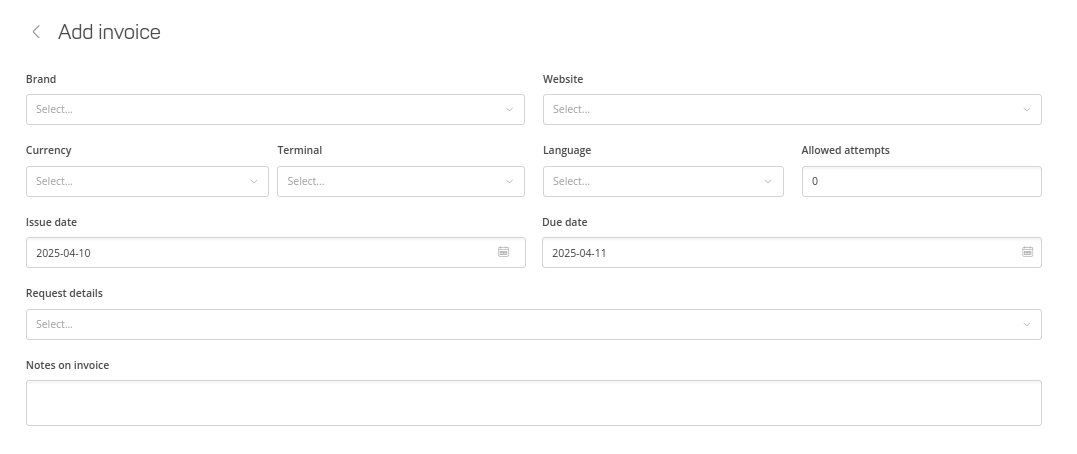
You will be then asked to edit the invoice details:
- Brand – note that one merchant may have several brands;
- Website – URL to the brand’s website;
- Language – sets the language in which the invoice will be created (you can set this parameter by default in Settings – Brand page);
- Currency – the currency used for invoice (you can also set this parameter by default in Settings – Brand page);
- Terminal;
- Allowed attempts;
- Request details (i.e. details that a client must specify when paying for the invoice; this parameter can be set by default in Settings – Brand page);
- Issue date (i.e. when the invoice was created);
- Due date (i.e. the date by which a client must pay for the invoice);
- Notes – allows you to add a message for your clients.
Once all details are filled out, the Save Changes button will appears. If you save the invoice template, you can later return to it to edit details. Using invoice templates are useful for merchants who regularly send out similar invoices.
Once you have saved the details, you will be asked to add product(s) to this invoice:
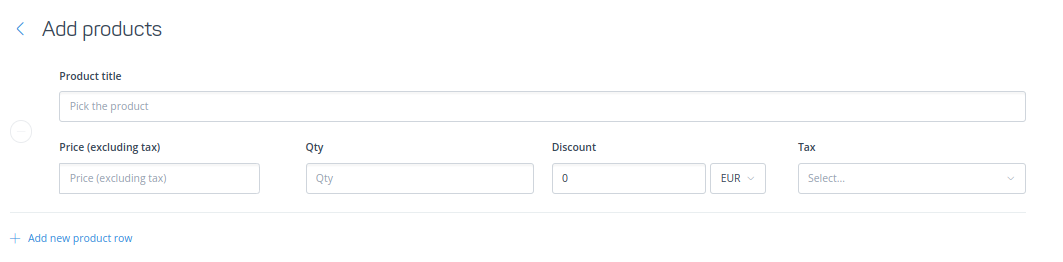
You can either choose from already existing products simply by typing the product name and specifying the currency or adding a new product by clicking on the Add products button. You can set the product price, quantity (Qty), apply a discount and the applicable tax rate. The discount can be set as an absolute number or a percentage of the product’s price. The tax rate can be added manually via Settings or set as the default rate of VAT – 21%.
NB: The maximum amount of unique products that can added to one invoice is 20.
Once you have created an invoice template, you can add clients to it and send out the invoice:

You can either select an existing client or create a new one. If you choose to send it to a new client, you will be asked to provide their basic information and their personal, company, billing, and shipping details.
After adding the clients to the invoice, choose how you want this invoice to be sent out – via e-mail(s) and/or text message - and send the invoice.
Create Subscriptions
Subscriptions allow customers to make recurring payments for access to a product or a service. With subscriptions, you can automate recurring payments without the need to involve developers.
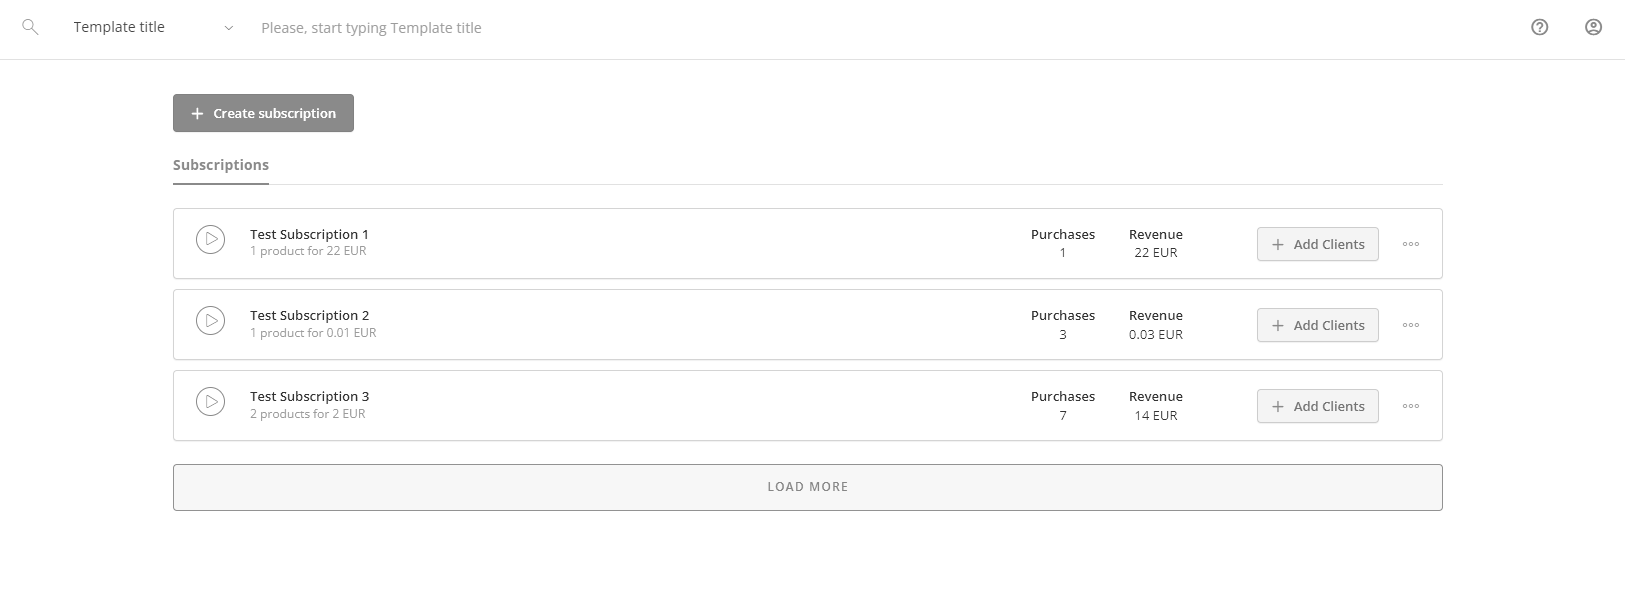
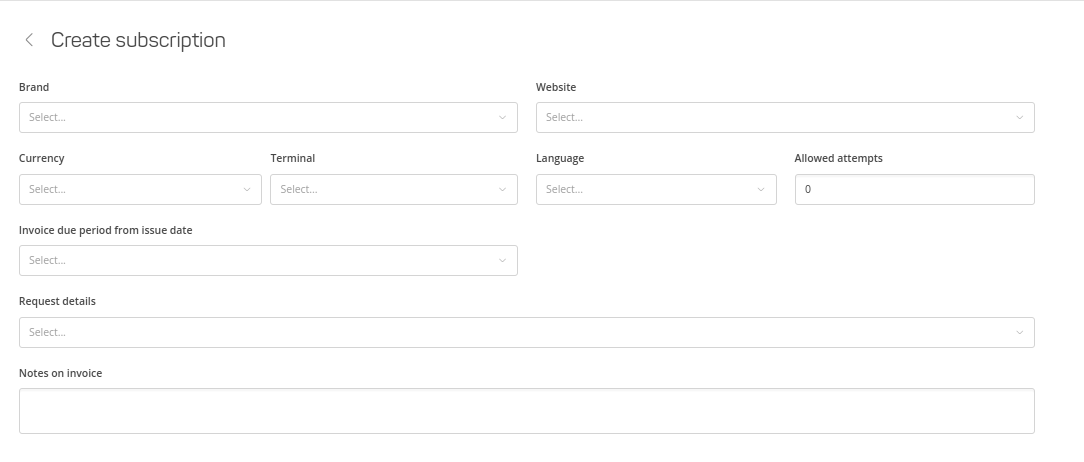
To create a new subscription, click on the + Create subscription button. You will the have to choose the following details for the invoice:
- Brand (one merchant may have several brands);
- Website (i.e. link to the website of the chosen brand);
- Language for the invoices (this parameter can be chosen as the default via Settings Brand tab);
- Allowed attempts;
- Request details which client will have to specify when paying for the subscription (this parameter can be chosen as the default via Settings Brand tab);
- Currency for the invoice (this parameter can be chosen as the default via Settings Brand tab);
- Due period from the issue date indicated the period during which the customer must pay;
- Notes on invoice allows you to add a message to the customers.
The next step is to add products for the subscription invoice:
You can either add already existing products or create a new product. In case you want to add an existing product, start typing the product title and the relevant products will show up, indicating their price as well. If you want to change the currency for the product, you can do it on the previous, Edit details view. To add a new product, fill out all the fields and click Add products. It will be automatically added to the Products section as well.
NB: You can add maximum 20 unique products per invoice!
The final step in the process of creating a new subscription is adding subscribers to it:
Now you can:
- Add new and existing customers (i.e. subscribers) to this subscription,
- Manage existing subscribers already asociated with the subscription,
- Select the sending details; namely, whether the invoice copy will be sent out to an email or mobile phone number, or both;
- Activate recurring payments.
If you choose to add new subscribers, you will be asked to provide their basic information and their personal, company, billing, and shipping details. You can also add to the invoice an already existing clients. You can see all customers already associated with the invoice and:
- See when the last invoice was sent out;
- Activate or deactivate recurring payments.
Accept MOTO Payments
If your business accepts orders by mail or telephone, you can process credit card transactions, using Mail Order/Telephone Order (MOTO) feature. This feature allows you to process transactions without the cardholder being present in your place of business. You can create a MOTO payment from any previously created invoice template. Click on the MOTO button in the bottom right corner:
You will be then asked to provide the client details. You can either select an existing client or add a new one:
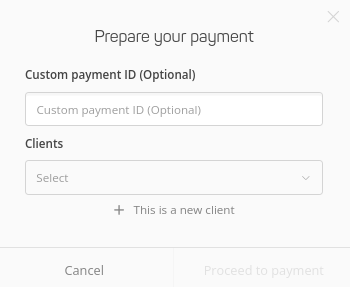
After selecting the client, you will get redirected to the payform to complete the payment.
Find a Payment
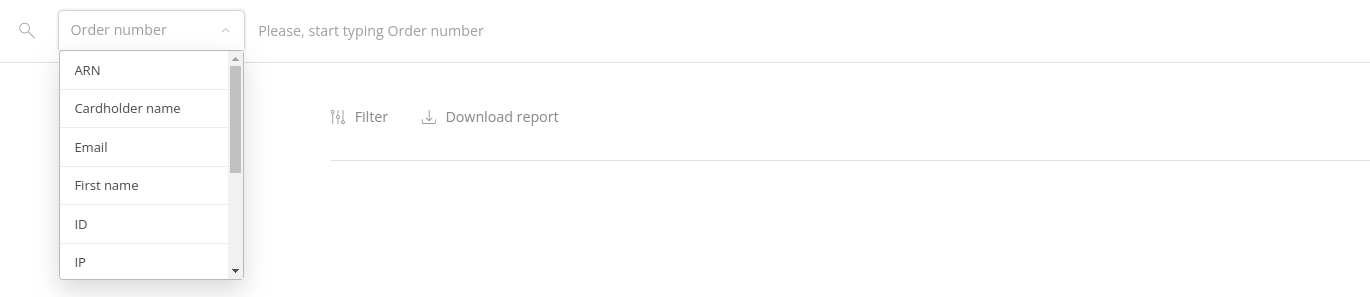
To find a particular payment, one option is to use the search bar. You can find a payment by its order number, cardholder's name, email, and several other options.
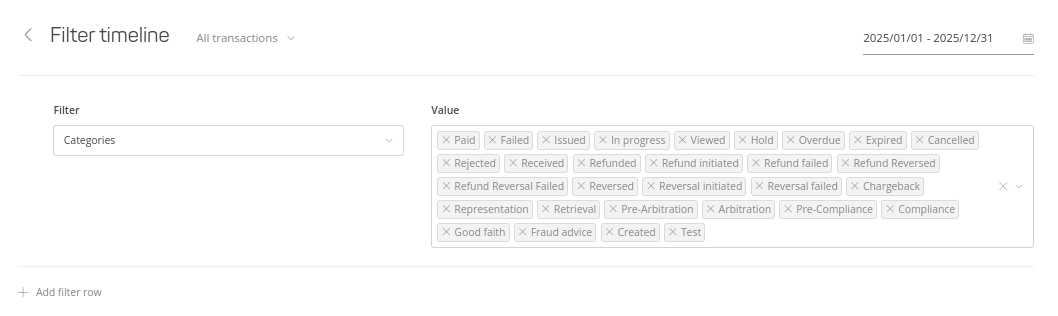
You can also go to the Timeline section and filter out particular payments, based on the time period you are interested in and applying several filters.
Refund a Payment
Refund allows you to return cash funds in full or partial amount to the customer’s account. You can only execute a refund for paid orders. Find the payment you wish to refund in Timeline and click to the three dots next to the payment status. In the dropdown option, select "Refund". After a succefully executed refund, the order status will change:

Pay out Money to Customers' Cards
To pay out money directly to your customers' cards, go to Clients section, choose from the list of your clients to whom you wish to pay out money, and click on the "Create Pay-out" button.
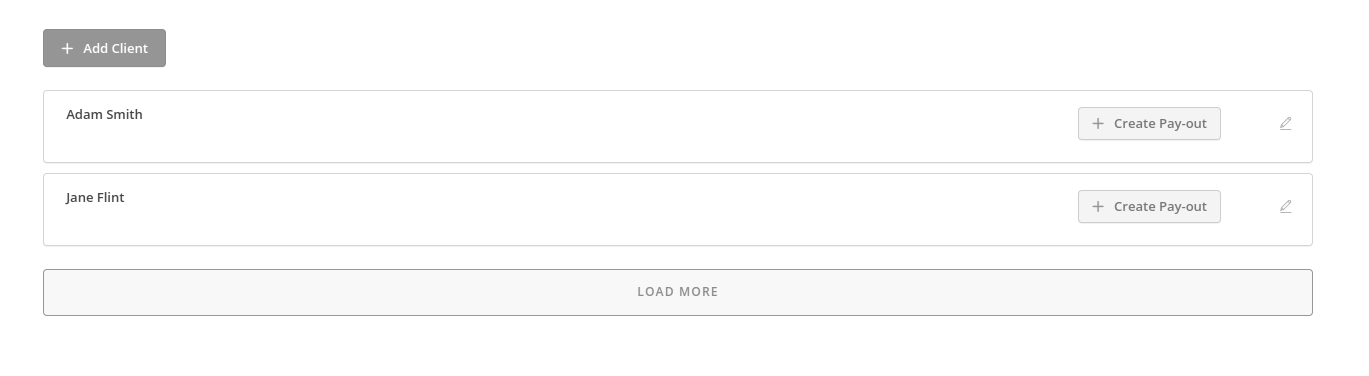
You won't be able to pay out money unless you have provided all the necessary customer details. If some details are missing, you will be asked to provide them first. Once you have filled them out, click again on the "Create Pay-out" button.
If all the necessary client details are provided, you will be asked to fill out the following fields:
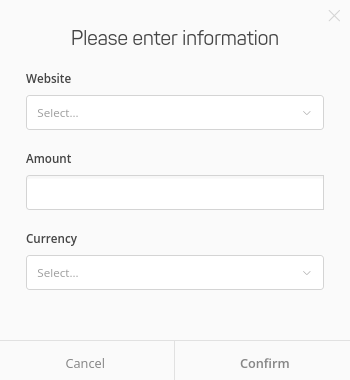
After confirming, you will get redirected to the payform to complete the payout.
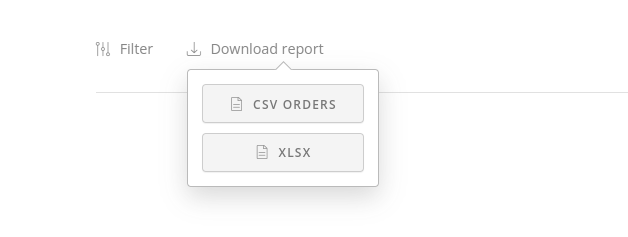
Download Reports
You can download Timeline reports in .CSV and .XLSX formats. After you have applied all the necessary filters to display the list of payments you wish to download, choose the "Download report" option.
E-commerce Modules
In E-commerce and API section, you can download the ready-made modules for Magento, PrestaShop, OpenCart, and WooCommerce platforms. The ZIP files includes detailed installation instructions.